Architectural photography is an art form that celebrates the beauty, intricacy, and grandeur of buildings and structures. From historic landmarks to modern skyscrapers, capturing the essence of architectural wonders requires a keen eye for detail, composition, and lighting. Whether you’re photographing iconic structures or hidden gems, here are some tips and techniques to help you create stunning architectural photos.
Understanding Architectural Photography
Architectural photography involves capturing buildings, bridges, and other structures in a way that highlights their design, form, and context. It’s about showcasing the creativity and engineering behind these structures, as well as the environment they inhabit.
- Purpose: Architectural photos can serve various purposes, such as documentation, artistic expression, commercial use, or historical preservation.
- Styles: There are different styles of architectural photography, including exterior shots, interior shots, and detail shots that focus on specific elements of the structure.
Choosing the Right Equipment
Having the right equipment can make a significant difference in your architectural photography. Consider investing in the following gear:
- Camera: A DSLR or mirrorless camera with manual settings is ideal for architectural photography. High resolution and dynamic range are beneficial for capturing fine details and contrasts.
- Lenses: Wide-angle lenses are commonly used to capture the entire structure, while tilt-shift lenses help correct perspective distortions. Prime lenses with different focal lengths can also be useful for capturing various aspects of the architecture.
- Tripod: A sturdy tripod is essential for stability, especially in low-light conditions or when using slow shutter speeds. It also helps maintain consistency in framing and composition.
Mastering Composition Techniques
Composition plays a crucial role in architectural photography. Here are some techniques to help you create balanced and visually appealing images:
- Rule of Thirds: Use the rule of thirds to position key elements along the grid lines or intersections, creating a harmonious and balanced composition.
- Leading Lines: Incorporate leading lines, such as roads, pathways, or architectural features, to guide the viewer’s eye through the image and toward the main subject.
- Framing: Use natural or architectural elements to frame your subject, adding depth and context to the photo.
- Symmetry and Patterns: Highlight symmetrical designs and repeating patterns in architecture to create visually striking images.
Finding the Best Lighting
Lighting is a critical factor in architectural photography. Different lighting conditions can dramatically alter the appearance and mood of a structure:
- Golden Hour: The soft, warm light during the golden hour (shortly after sunrise and before sunset) is ideal for capturing exterior shots. It enhances textures and colors, creating a pleasing glow.
- Blue Hour: The blue hour (just before sunrise and after sunset) provides a soft, cool light that can create a serene and ethereal atmosphere.
- Night Photography: Illuminated buildings at night can create dramatic and captivating images. Use long exposures to capture the interplay of artificial light and shadows.
- Interior Lighting: For interior shots, natural light from windows can create a soft and inviting ambiance. Consider using additional lighting or reflectors to balance exposure and highlight architectural details.
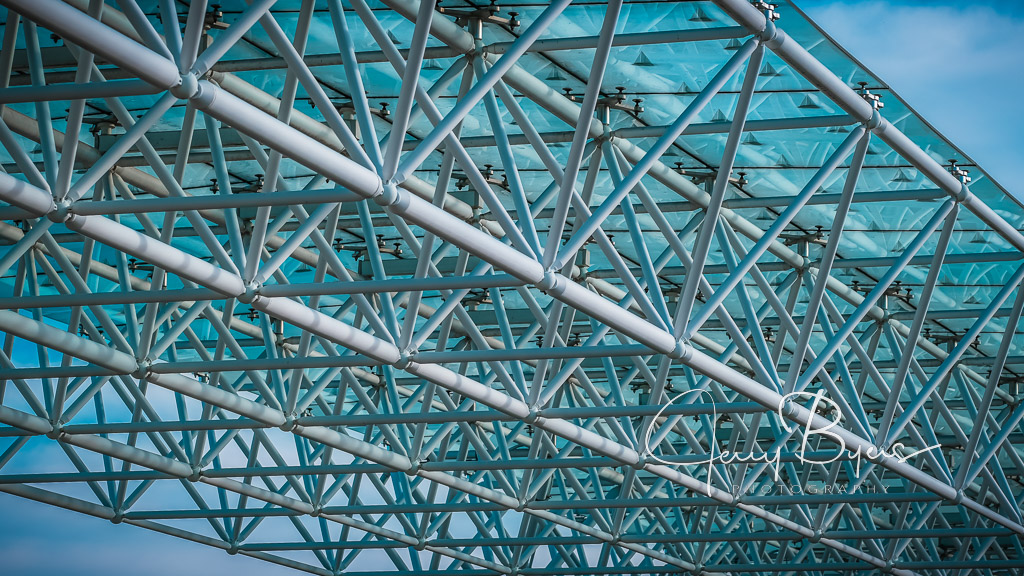
Capturing Architectural Details
Focusing on architectural details can add depth and interest to your photos. Look for unique features, textures, and design elements that tell a story about the structure:
- Close-Ups: Capture close-up shots of intricate designs, patterns, and materials. These details can reveal the craftsmanship and creativity behind the architecture.
- Textures: Highlight different textures, such as stone, wood, glass, and metal, to add visual interest and contrast to your images.
- Angles and Perspectives: Experiment with different angles and perspectives to showcase the structure from various viewpoints. Low-angle shots can emphasize height and grandeur, while high-angle shots can provide a comprehensive view of the layout.
Post-Processing and Editing
Post-processing is an essential step in enhancing your architectural photos. Use editing software to adjust exposure, contrast, color balance, and sharpness:
- Perspective Correction: Correct any perspective distortions to ensure that lines appear straight and true to life.
- HDR (High Dynamic Range): Use HDR techniques to balance exposure in high-contrast scenes, capturing details in both shadows and highlights.
- Color Enhancement: Adjust colors to highlight the architectural features and create the desired mood. Be mindful of maintaining a natural look.
- Sharpening: Apply sharpening techniques to enhance fine details and textures, ensuring a crisp and clear final image.
Final Thoughts
Photographing architectural wonders is a rewarding and inspiring pursuit that allows you to explore the beauty and ingenuity of buildings and structures. By understanding the fundamentals of architectural photography, choosing the right equipment, mastering composition and lighting, capturing intricate details, and utilizing effective post-processing techniques, you can create stunning images that celebrate the art of architecture.
So, grab your camera, venture out to explore architectural marvels, and let your creativity shine through your photographs.
Happy snapping!
Jerry Byers
Feel free to share your thoughts, experiences, or favorite photography tips in the comments below. I look forward to seeing your perspective on the art of everyday photography.
